Copyright © 2024 Stephen Winter. All rights reserved.
6. Sculpting Solar Gravity The Creative Process
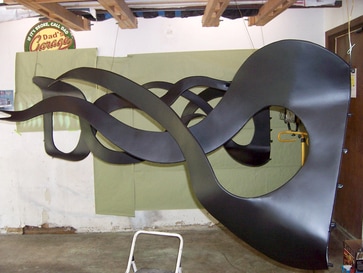
56. Surface cleanliness is of utmost importance for a long lasting paint job. After the epoxy primer is wet sanded, wiped down with post sanding cleaner then tack clothed. I apply a black catalyzed primer sealer over the primer. The catalyst makes the paint very hard and durable in the long run. After the primer sealer has flashed I will apply a few coats of Black base coat before the application of the color shift paint. The color shifting effects paint works to varying degrees depending on how dark the base coat is under the shift paint. I intended the paint to work to its maximum effect that’s why I painted a double black base.
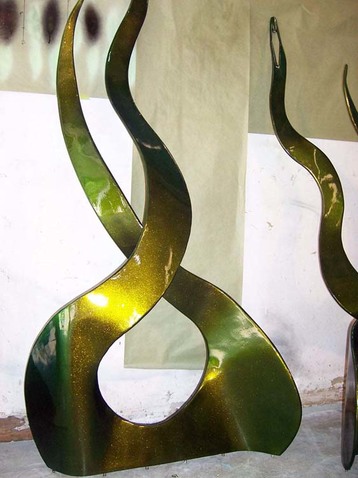
57. I’m beginning to apply the color shifting paint coats. A number of coats will be necessary to achieve the maximum color shift effect. The mixture is a couple of level tea spoons of dry color shift pigment to a quart of House of Kolor intercoat clear flake carrier for spraying. The color shifting effect comes on slow at first, this picture was taken after just one coat application.
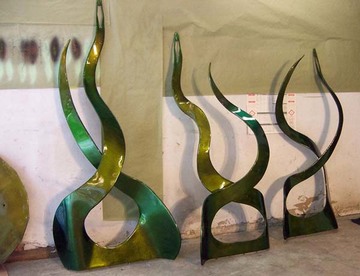
58. Success! The color shifting effect is spectacular! It really must be experienced first hand in person to enjoy what this paint does. Moving around the sculpture and viewing at different angles and lighting makes it come alive.
59. All the components of the sculpture painted complete and have 4 coats of a catalyzed clear top coat.
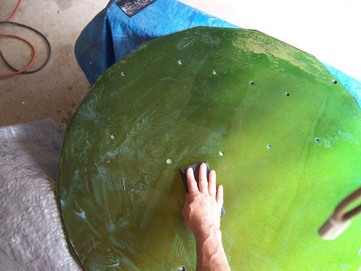
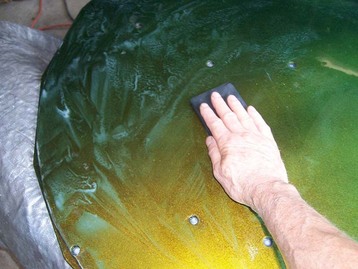
60. Now that everything has been clear coated it will all be wet sanded again.
61. Wet Sanding.
62. Lots of wet sanding.
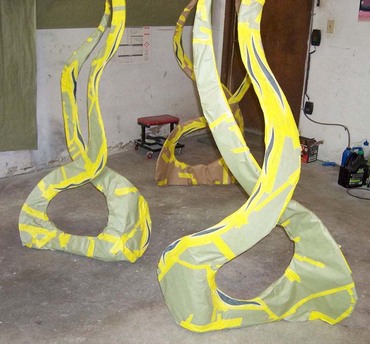
63. I decided to add some swoosh designs on the sculpture in different places. I actually did this as an experiment to see how it would turn out. I wanted the swoosh designs to be visible but subtle. It turns out that it worked perfectly, exactly what I wanted. This photo shows to add these swoosh designs required masking off all of the pieces in total, only leaving the swoosh design areas open. This turned out to be a big effort just to add these designs but it was a worthwhile learning experience.
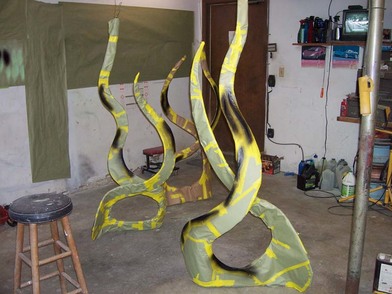
64. I suspended the metal shapes upright in the shop by wire. Then painted the Black base coat on the open swoosh design areas. After the black flash dried I went right to painting the color shift paint and finished with the catalyzed clear coat.
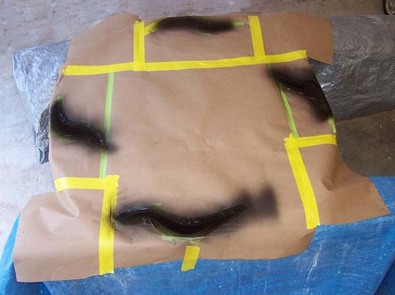
65. The base painted Black in preparation of the 4 swoosh designs.
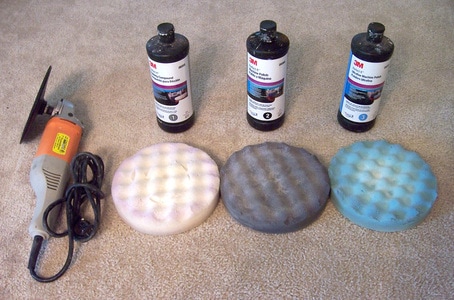
66. Now that the paint job is complete each piece will be machine buffed using 3 different polishing compounds and matching pads as shown in the photo. This will bring this previously wet sanded clear coat to a brilliant gloss.
If you have a question or comment please click on the E-mail link below:
