5. Sculpting Solar Gravity The Creative Process
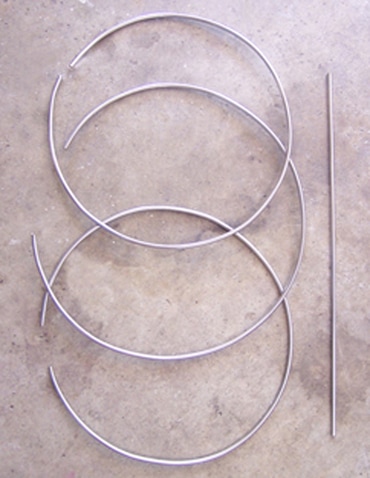
44. Shown here is a couple of lengths of ¼” polished stainless steel rod that I will bend and weld into rings.
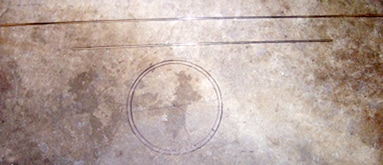
45. Three rings shaped into circles before welding into one assembly. I did bend these by hand around a steel pole and kept compairing them to the sharpie drawn circles on the shop floor as shown in the middle lower part of picture 44.
46. Another set of larger rings shaped and ready for welding.
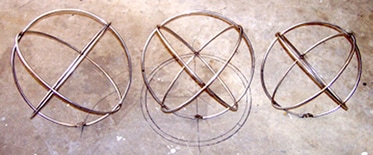
47. All three sets of stainless steel atomic shapes welded complete.
Notice three different sizes.
Notice three different sizes.
Now that the rings are ready it's time to move back to the main sculpture shapes.
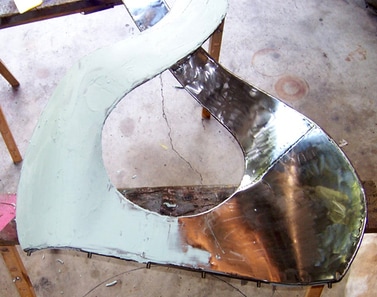
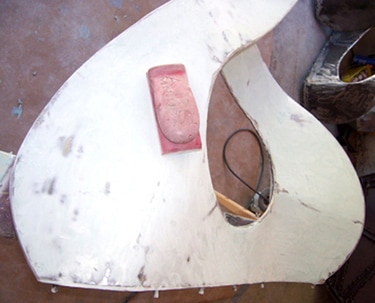
48. To achieve a perfectly smooth finish necessitates applying a thin layer of polyester body filler over the entire surface of the sheet metal then sanding smooth.
49. Using a sanding block to ensure flat sanding.
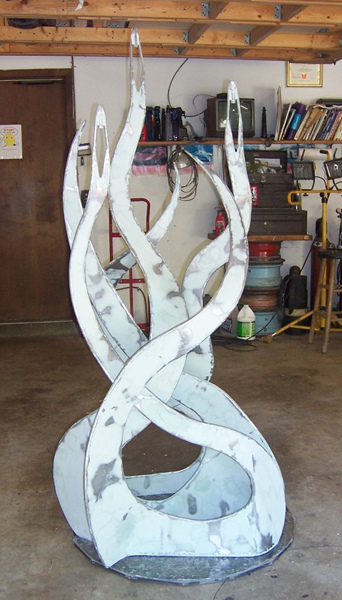
50. After spending many hours of applying and sanding body filler to both sides of each piece all three pieces are ready.
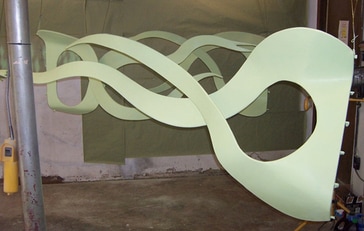
51. After all the pieces were sanded with body filler I hung them up to have good access to both sides for prime painting. I used a 2 part epoxy primer by House of Kolor. 3 coats were applied for good coverage. That’s what the light green color is at this stage of painting.
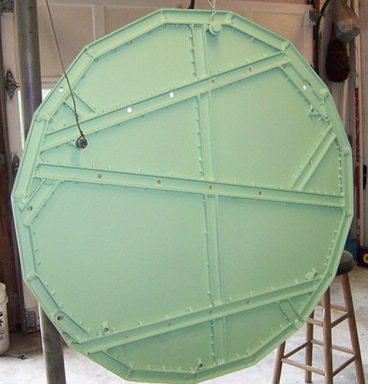
52. The bottom of the base prime painted.
53. Wet sanding of the primer begins.
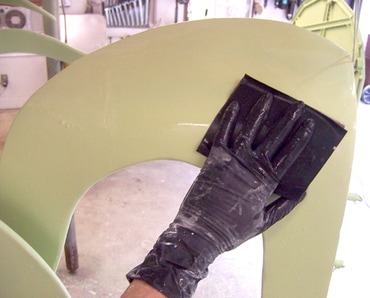
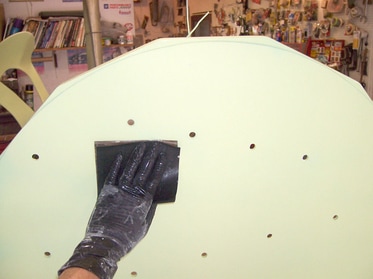
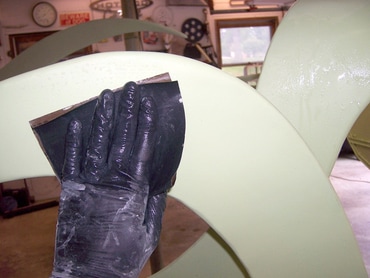
54. The primer will be hand sanded with 400 grit wet. I have a 3M pad wrapped in the center of the sand paper in this picture, this will guarantee a sanded surface that is flat.
55. Every inch is sanded, much time will be spent sanding now and later after the application of top coats,
creating a flawless, seamless paint job.
creating a flawless, seamless paint job.
If you have a question or comment please click on the E-mail link below:
