Copyright © 2024 Stephen Winter. All rights reserved.
3. Sculpting Solar Gravity The Creative Process
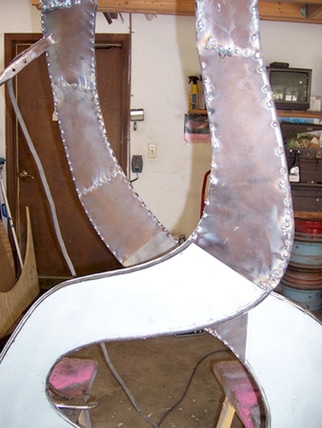
23. I’m beginning the application of sheet metal to the remaining open side of the sculpture. Notice the whitish, light gray on the backside of the sheet metal this is a sprayed cold galvanizing compound coating that is 93% pure zinc for superior corrosion resistance. I have sprayed the backside of the sheet metal that I’m applying in this view before welding closed. This sculpture is rust protected inside and out.
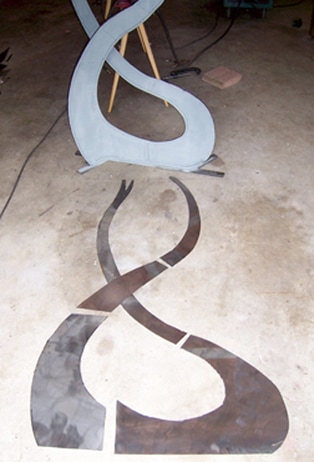
24. Cut shapes of sheet metal laid out on the shop floor to give you a better idea of the size of the pieces used to cover one side. Each piece will have to be trimmed closer for a perfect fit as they are welded on. I made cardboard templates traced against the 3/8” rod to make patterns to get the metal shape this close to start.
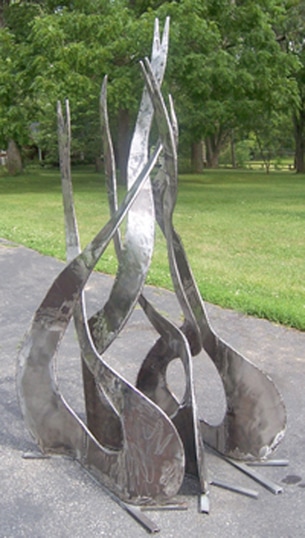
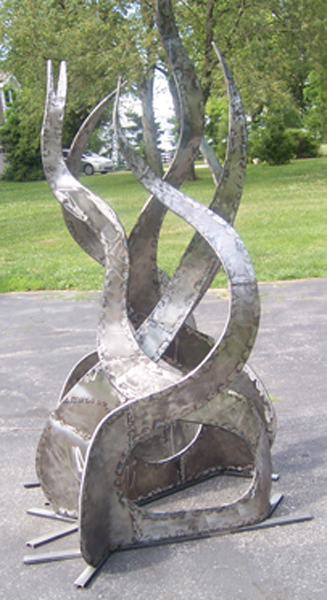
25. Finally I have three sculptural shapes with welds ground and sanded on their bases that will stand upright on their own.
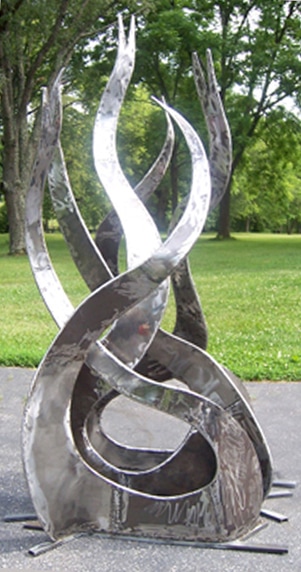
26. I positioned them outside to get a better idea of how the complete piece will look.
27. By keeping each shape loose on its’ own self supporting base enabled me to move each piece, shuffle the order and put them in different positions. This way I can maximize the intertwining relationship and fluidity of each shape.
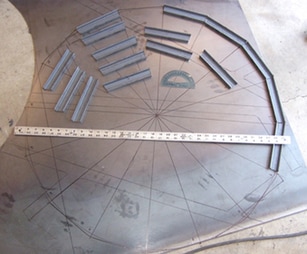
28. Pictured above is the remains of a 4X8 foot piece of heavy sheet metal that I previously used to make “Yellow Brick Road” round bases for the Tin Man and the Scarecrow. This base will be exactly the same size as the other two bases coming in at 34” in diameter. As you can see I have sketched out where everything should go with a sharpie pen onto the sheet metal. I took a length of 1.5” channel iron and cut 16 segmented pieces with the proper angle on each end to follow the circle shape.
29. I positioned each of the 16 pieces to make sure every one was cut and fit correctly. Each piece will be welded together thoroughly to complete the circle.
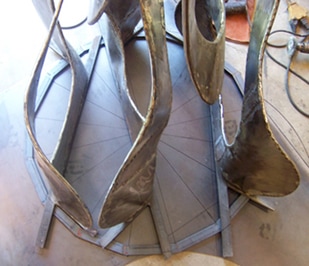
30. The sculptural shapes in this view are positioned on the round channel iron base so I can mark the base supports for trimming off. This will fit the pieces to be welded to the round base which will become a one piece support system.
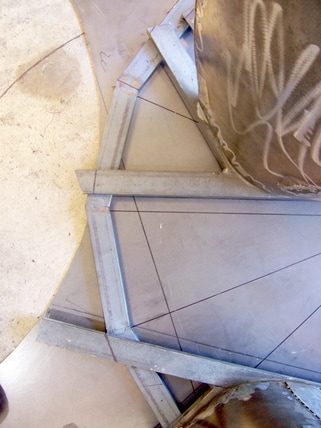
31. Below a close-up of the channel steel base components fitment before trimming.
32. The completely welded channel steel base support system before grinding and sanding all of the welds flat.
If you have a question or comment please click on the E-mail link below:
