Copyright © 2024 Stephen Winter. All rights reserved.
2. Sculpting Solar Gravity The Creative Process
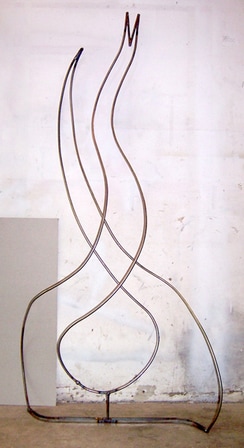
12. The first piece stood up for inspection and to help me get a sense of height and scale.
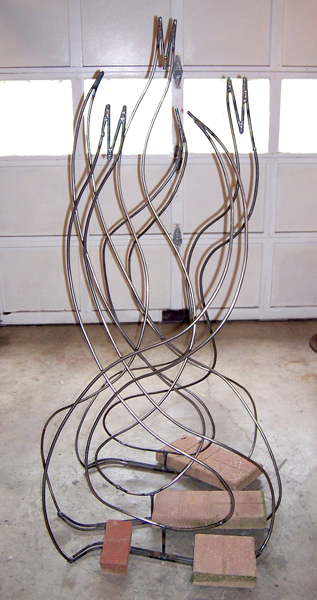
13. After some time I had all three sculptural shapes welded and ready for the next step.
I stood them in the base circle that I had drawn on the shop floor to get my first glimpse of what these parts might look like assembled. As you can see I used a few paver bricks to hold them upright.
I stood them in the base circle that I had drawn on the shop floor to get my first glimpse of what these parts might look like assembled. As you can see I used a few paver bricks to hold them upright.
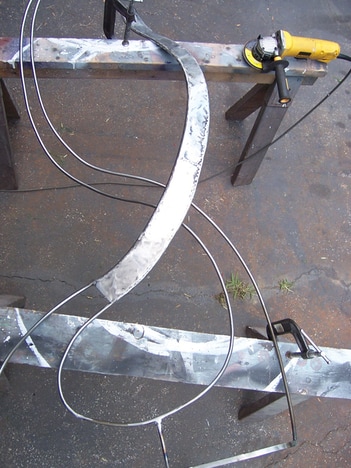
14. This view shows the metal shape lying across a couple of saw horses where I have begun cutting and welding sheet metal to fit one side.
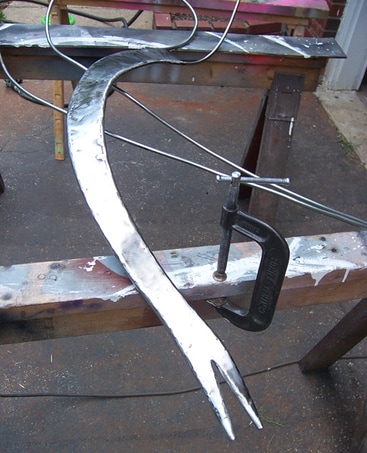
15. The same piece viewed from the other end.
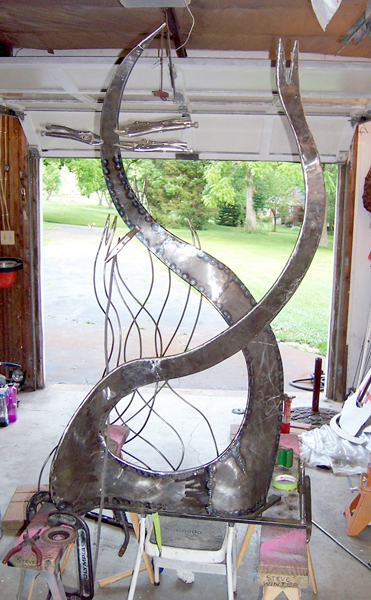
16. Here I am completing the application of sheet metal to one side of this shape. Notice the vise grips at the top left holding the sheet metal for welding. Many hours were spent and hundreds of welds to complete just the one side. The sheet metal needed to be pieced together for the best fit to conform to all of the twists and turns in this fluid shape.
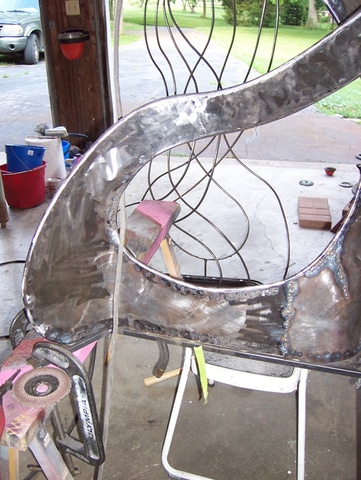
17. A closer view of the previous picture. You can see that about half of the welds have been ground and sanded smooth. The goal is a one piece smooth seamless appearance.
18. Shown here is a view of the backside of the shape from the previous two pictures. I have applied larger welds to tie the sheet metal to the 3/8” rod that will not be ground smooth and should add rigidity to the structure. The second application of sheet metal will not have these larger welds since it caps and encloses a 3/8” air space; this is done to all three shapes.
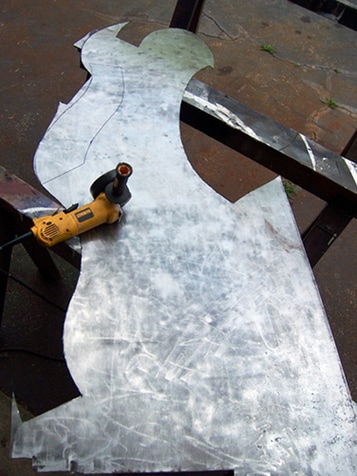
19. This is the remains of one of the two 4X8 foot sheets of metal I used to complete this project. You can plainly see where I have previously cut out shapes from what was a rectangular shaped sheet. The next piece to cut out is visible above the yellow grinder the drawn outline with a black sharpie pen.
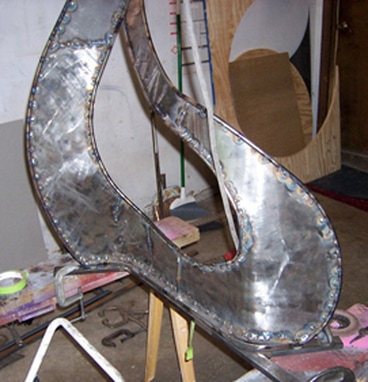
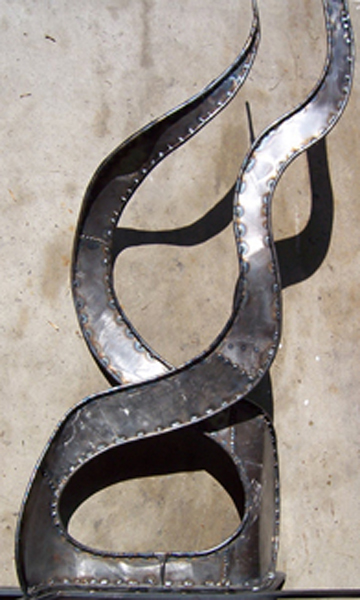
20. This is a well lit view of one of the sculpture shapes showing the interior welds.
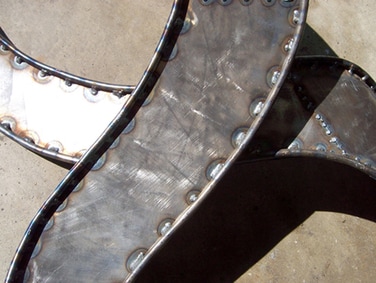
21. Interior weld close-up picture 2.
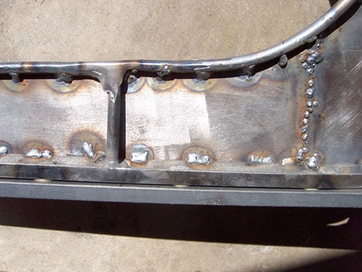
22. Interior weld close-up picture 3.
If you have a question or comment please click on the E-mail link below:
